How to make a character relationship map, step by step
1 November 2026
A good relationship map answers one question at a glance: who is close to whom, and why. Whether you're writing a novel, running a tabletop campaign or explaining a saga in a video, the method is the same. Here it is in six steps, with a real example.
1. Start with fewer characters than you think
The most common mistake is to add everyone at once. Start with the 10 to 15 characters the story can't do without: the ones who make decisions, betray, fall in love or die. Minor characters can join later, once the shape of the map is clear.
A quick test: if removing a character changes nothing in the plot, they can wait.
2. Draw the groups first
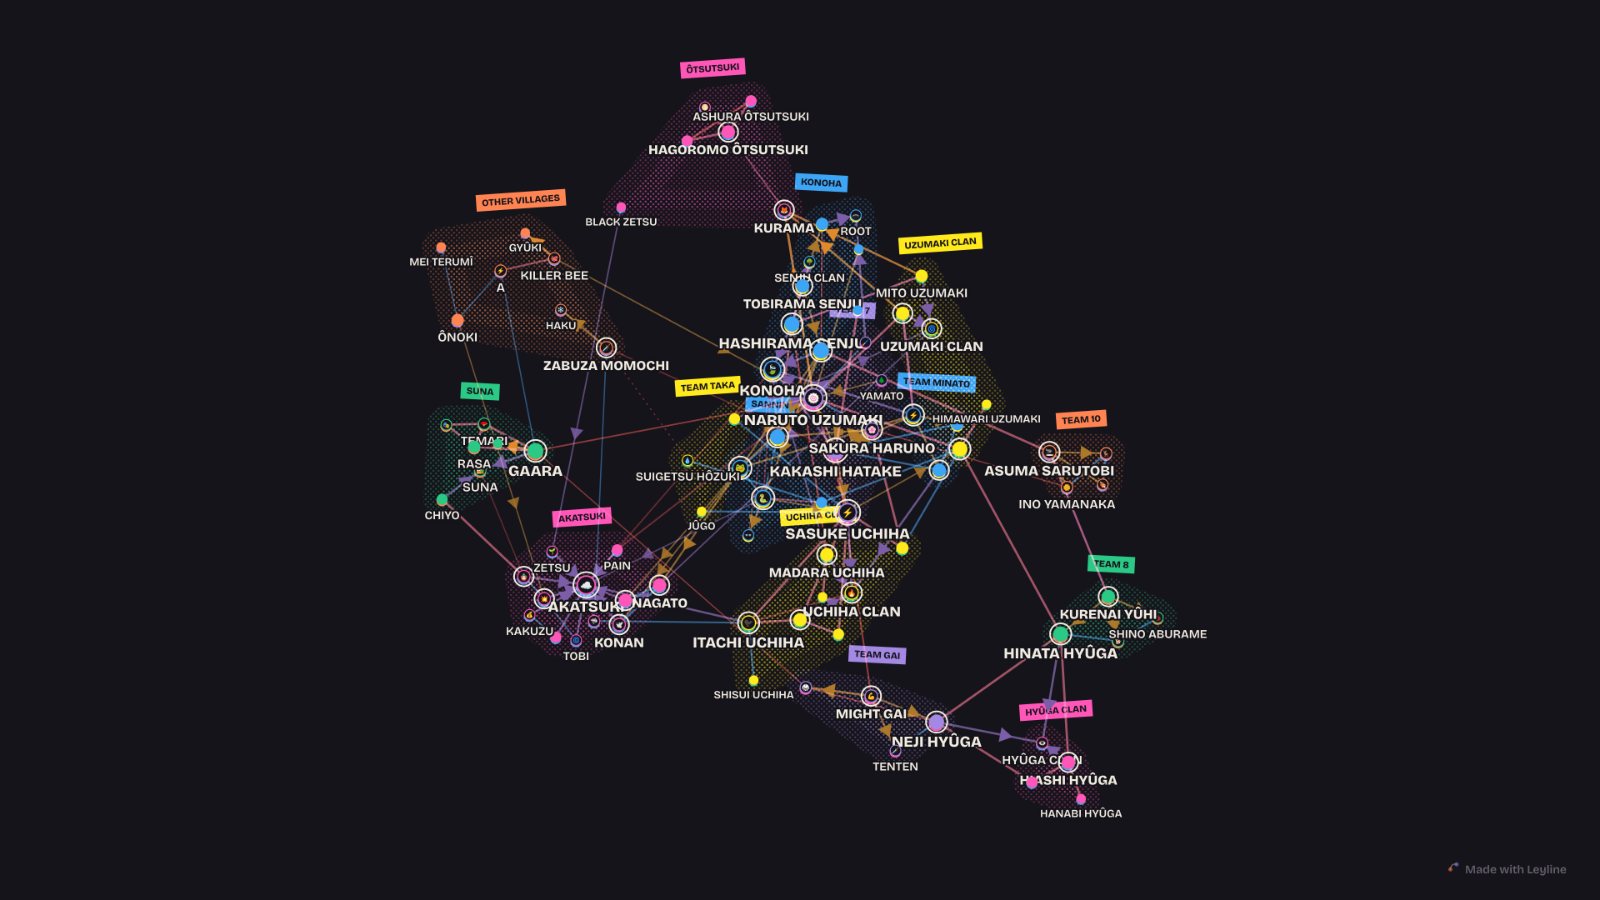
Families, clans, crews, factions, labels, schools: groups are the skeleton of the map. Link each character to the groups they belong to before anything else. Once belonging is drawn, the map already tells half the story.
In Leyline, links of the “groups together” kind (member of, family, signed to…) form the clouds around each group automatically, so you never have to place people by hand.
3. Connecting is not belonging
Then add the relationships between people: friendship, alliance, love, mentorship, rivalry. The key is to keep them separate from belonging. Two characters can be allies without being in the same faction; if every link pulled them into the same group, the map would turn into one big knot.
- Groups together: member of, family, part of a crew.
- Connects: friend, ally, collaborator, in love, influenced by. Visible, but each keeps their own group.
- Pushes apart: rival, enemy, at war. The map literally keeps them at a distance.
4. Give a direction to one-way relationships
“Mentor of”, “works for”, “betrayed” are not symmetrical. An arrow makes them readable: Jiraiya → mentor of → Naruto says something very different from the reverse. Keep arrows for relationships that really go one way, or the map gets noisy.
5. Hide what should stay hidden
Twists, secret identities and hidden loyalties are often the most interesting links, and the ones you must not show too early. Mark them as secret: you see them while writing or preparing, your readers or players don't, until you decide to reveal them.
For a tabletop campaign, reveal secrets session by session: the map becomes a record of what the players have discovered.
6. Add time if the story spans years
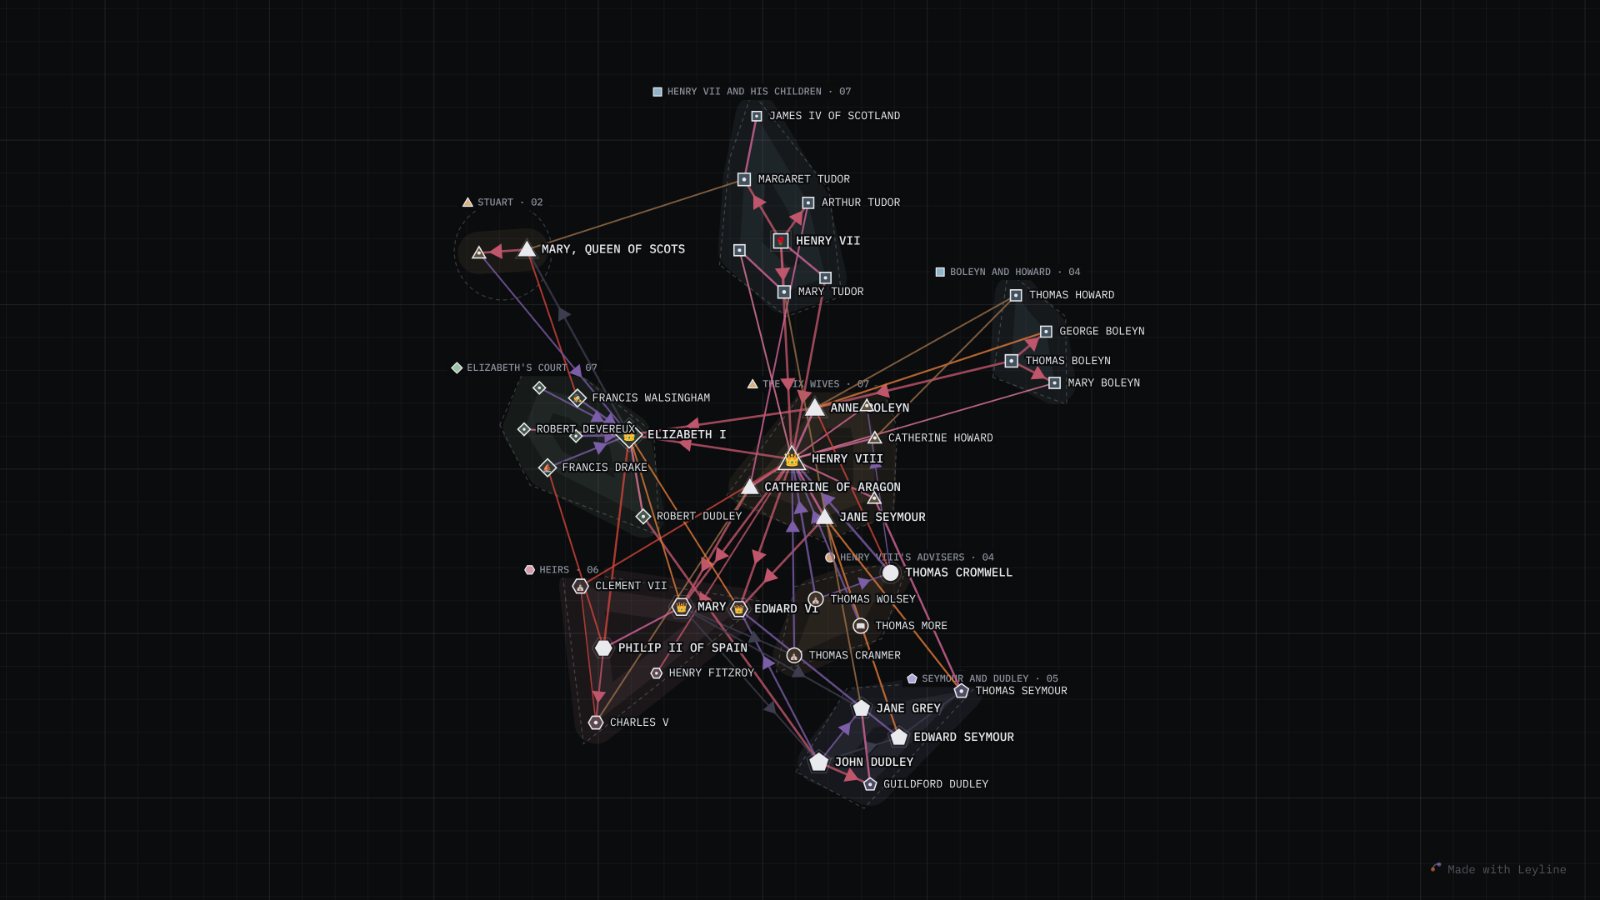
Dynasties, music scenes and long sagas change a lot over time. Give characters a start (and possibly an end) date, then play the timeline: the map builds up in order, and shows who was there when. It's also the best way to explain a complex story in a video.
Share it, or turn it into a video
Once the map holds together, share it with a read-only link, export it as an image for a post, or record it as a video of the map building up, in vertical format for TikTok, Reels and Shorts or in 16:9 for YouTube.
You can do all of this with pen and paper too. A tool just saves you from redrawing everything each time a character changes side.
Try it on a blank map, or open a ready-made one and make it yours. It's free and works without an account.